
It’s easy to think of giant ice cubes as just a visual statement, but their real magic is all about function. Sure, they look incredible, but the core benefit comes down to simple physics: their large size and lower surface-area-to-volume ratio mean they melt significantly slower than your average ice cubes.
This slow melt is exactly what you want when you're sipping on high-quality spirits or a carefully crafted cocktail. It’s the secret to keeping the flavor pure and undiluted.
Why Giant Ice Cubes Elevate Your Drinks
There’s no denying the immediate appeal of a giant, crystal-clear ice cube. It instantly turns a simple drink into a premium experience before you even take the first sip. But behind that sophisticated look is a fundamental principle that every true drink lover should appreciate. The key to a perfectly chilled, full-flavored beverage is all about controlling how fast the ice melts.
Think of it like building a fire. A big, dense log will burn slow and steady for hours, giving off consistent heat. A pile of kindling, even if it weighs the same, will flare up and burn out in minutes. In this case, giant ice is the "log" in your glass, while a handful of small, cloudy cubes is just "kindling."
The Battle Against Dilution
Every single drop of melted ice is water, and too much of it can quickly ruin a drink you've spent time and money on. This is especially true for spirit-forward cocktails like an Old Fashioned or a premium whiskey served neat. The whole point is to chill the liquid to its best temperature without drowning out the complex flavors and aromas you paid to enjoy.
This is where that lower surface-area-to-volume ratio really shines. A single two-inch cube has far less surface area touching the liquid than the dozens of smaller cubes it would take to fill the same space. Less contact means a much slower melt.
A slower melt preserves your drink's integrity. It means the last sip will be nearly as crisp and potent as the first, giving you a consistently superior drinking experience from start to finish.
More Than Just a Pretty Cube
While the function is what really matters, you can't ignore the visual impact. A large, perfectly clear cube in a glass is a signal of quality and attention to detail. It tells you that the bar—or the home bartender—cares about every single element in that glass, right down to the frozen water. This visual cue alone enhances the perceived value and the overall enjoyment of the drink.
Let's break down the key benefits of using giant ice cubes:
- Minimized Dilution: Keeps the intended strength and flavor of spirits and cocktails intact for much longer.
- Optimal Chilling: Cools the drink down efficiently without the rapid, flavor-killing melt of smaller ice.
- Enhanced Presentation: Creates a striking, high-end look that instantly elevates any beverage.
- Consistent Experience: Ensures your drink tastes just as the maker intended, from the first sip to the last.
At the end of the day, these large cubes are a fundamental tool for anyone serious about good drinks. They aren't just a fleeting trend; they're a return to the basics of serving a better, more flavorful, and visually stunning cocktail.
The Science of Slower Melting Ice
The incredible performance of a giant ice cube isn't some kind of bar magic—it's just a bit of simple physics. Once you understand the "why" behind their slow melt, you'll appreciate not just that it works, but how it works to make your drink better. The secret all comes down to one key idea: the surface-area-to-volume ratio.
Let’s think about it this way. Picture a giant, solid boulder. Next to it, imagine a pile of gravel that weighs exactly the same. If you left both out in a downpour, which one do you think would get soaked through first? The gravel, of course. All those tiny rocks create a ton of exposed surface area. The boulder, with its low surface area and massive volume, would take ages to get saturated.
That’s precisely what’s happening in your glass. A large, solid cube is the boulder, and a handful of regular ice cubes is the gravel. Even if they have the same total mass, the smaller cubes expose way more surface area to the drink. More surface area means a faster heat transfer, which leads to a quick, watery melt.
The Critical Role of Surface Area
So, why is this ratio so important? The main job of ice is to pull heat from the liquid around it, making your drink cold. This entire process, the heat exchange, only happens at the surface of the ice.
When you use a bunch of small cubes, you're creating a huge network of surfaces all working at once to absorb heat. While this chills the drink fast, it comes at the cost of rapid dilution. A single giant ice cube, on the other hand, has minimal surface area compared to its dense volume.
This means it chills your drink more gently and, most importantly, melts at a much, much slower rate. The result? A drink that stays perfectly cold for a long time without becoming a watery mess.
Why Clarity Equals Performance
Beyond just size, the clarity of your ice is a huge factor in how fast it melts. Ever notice how ice from a standard freezer tray is almost always cloudy in the middle? That's not just a visual flaw; it’s a sign of a weaker, less effective cube.
That cloudy core is packed with trapped air bubbles and impurities that got pushed to the center as the water froze from the outside in. These tiny air pockets don't just look bad—they create weak points and act as insulators inside the ice.
Key Takeaway: Clear ice isn't just for show. It's structurally denser and more solid because it doesn't have the insulating air pockets you find in cloudy ice. This density is what makes it melt even more slowly and evenly.
To get this level of purity, you need a technique called directional freezing. This process copies how ice forms in nature—think of a lake freezing from the top down. It forces air and impurities out, leaving behind a perfectly clear, solid block of ice.
If you’re looking to perfect your cocktail game, understanding these principles is step one. To dive deeper, you can learn more about crafting your own slow-melting ice cubes with our detailed guide.
Ultimately, the science doesn't lie. For a perfectly chilled drink that holds onto its intended character from the first sip to the last, a large, transparent cube is simply the superior choice. It's what separates a good drink from a great one.
Mastering Crystal Clear Ice at Home
Making perfectly clear ice is one of those skills that really separates the casual hobbyist from a true home-bar master. Forget the old myths about using boiled or distilled water. While the quality of your water isn't totally irrelevant, the real secret isn't what you freeze, but how you freeze it.
The technique that unlocks it all is called directional freezing.
Think about how a lake or pond freezes over in the winter. It happens from the top down, with the cold air chilling the surface first. As the ice sheet forms, it naturally pushes dissolved air, minerals, and other impurities downward, away from the freezing front. The result? A stunningly clear layer of ice on top. We can copy that exact same natural process right in our home freezers.
The Cooler Method Explained
The simplest and most effective way to achieve directional freezing is with a small, insulated cooler that can fit inside your freezer. The cooler’s insulation is key—it prevents the water from freezing on the sides and bottom. This forces the freezing process to start from the top surface and move downward, just like that pond.
As the water freezes, all the cloudy stuff—air bubbles and impurities—gets pushed down into the unfrozen water at the bottom. This leaves you with a gorgeous, thick block of crystal-clear ice on top and a small, cloudy layer of discardable ice below.
This visual guide breaks down the process, from filtering the water to the final freeze.
As the infographic shows, getting that pristine clarity is a combination of good water and a little bit of patience. Each step plays a role in the quality of your final cubes.
A Step-by-Step Guide to Clear Ice
Ready to give it a shot? Here’s a simple walkthrough for making your own block of perfectly clear ice with the cooler method.
- Grab Your Cooler: Find a small, hard-sided cooler (leave the lid off) that fits upright in your freezer. A standard 5-quart "personal" cooler is usually the perfect size.
- Fill with Water: Fill the cooler about three-quarters of the way with regular tap water. Filtered water can give you a slight edge, but directional freezing does most of the heavy lifting by pushing impurities out anyway.
- Add Silicone Molds (Optional): If you want pre-formed giant ice cubes, you can place food-grade silicone molds at the bottom of the cooler before adding water. Fill the molds, then fill the cooler around them. The water will still freeze from the top down, creating clear ice inside your molds first.
- Time to Freeze: Place the open cooler into your freezer and let it sit for 18 to 24 hours. The key is not to freeze the entire block solid. You want the top 75% to be frozen solid (the clear part), while the bottom 25% is still liquid or slushy (the cloudy part).
The secret is to pull the cooler out before the entire block is solid. This traps all the cloudy impurities in the unfrozen water at the bottom, which you’ll simply discard.
Harvesting and Cutting Your Ice
Once your block is mostly frozen, it's time for the big reveal. This part is incredibly satisfying, but it does require a bit of care.
Step 1: Temper the Ice Take the cooler out of the freezer and let it sit on your counter for 30–60 minutes. This is called "tempering," and it helps prevent the ice block from cracking from thermal shock when you go to remove or cut it. You’ll know it's ready when the outside of the block starts to look wet.
Step 2: Remove the Block Carefully flip the cooler upside down over a clean cutting board. The block should slide right out. You’ll immediately see the difference: a stunningly clear section on top and a cloudy, maybe even slushy, section at the bottom.
Step 3: Cut Your Cubes Now for the fun part. Grab a serrated bread knife and gently score a line across the clear ice where you want to cut. Place the knife into the scored line and give the spine a few firm taps with a wooden mallet or another sturdy tool. The ice should split cleanly right along your line.
- Safety First: Always be careful when cutting ice. Work on a stable, non-slip surface and keep your hands well clear of the knife’s path.
- Embrace Imperfection: Your first few attempts might not produce perfect squares, and that's totally fine! The rustic, hand-carved look is part of the charm.
Repeat the scoring and tapping process to break your block down into beautiful giant ice cubes. Store them in a freezer bag or an airtight container to keep them fresh and prevent them from picking up any weird freezer smells. Just like that, you have a stash of professional-quality ice, ready to elevate any drink you make.
Choosing the Right Molds and Tools
So, you’ve decided to make your own giant ice cubes. The next step is getting the right gear, but don't worry—you don't need a kitchen full of gadgets to get started. A few smart choices will set you up for success. The most important tool, naturally, is the ice mold itself, and the material it's made from matters more than you might think.
While you’ll see rigid plastic trays out there, flexible, food-grade silicone is the undisputed champion for large-format ice. Why? Because its flexibility makes getting your frozen cubes out a simple, crack-free process. A little push from the bottom and your pristine cube or sphere pops right out, a task that can be a real headache with hard plastic.
Selecting the Perfect Mold Shape
The shape of your ice isn't just about looks; it affects how the ice performs in the glass. The two most popular shapes you'll find for giant ice are the classic cube and the elegant sphere.
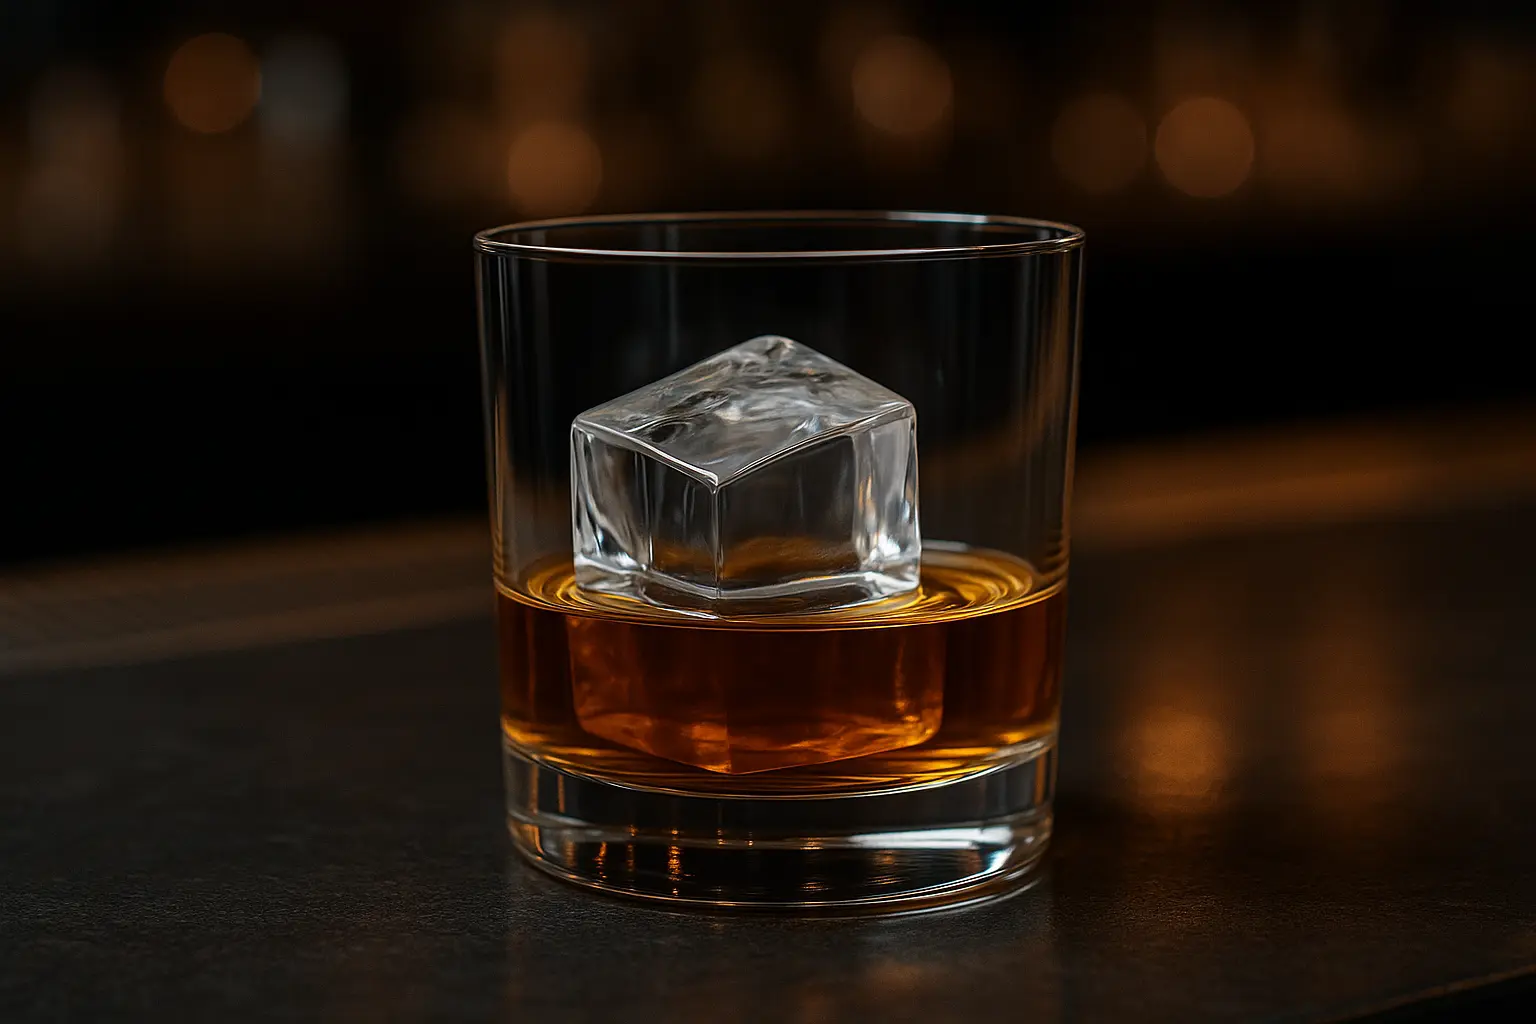
- Large Cubes: A two-inch cube is the workhorse of the cocktail world. Its clean, sharp lines and substantial presence make it a perfect fit for a standard rocks or Old Fashioned glass. It’s the go-to for spirits like whiskey or bold, spirit-forward cocktails where you want a modern, confident look.
- Spheres: An ice ball, or sphere, has the lowest surface-area-to-volume ratio of any shape. In simple terms, this means it melts slower than any other shape of the same size. Spheres offer a sophisticated, classic aesthetic that looks incredible in rounded or tulip-shaped glasses.
Ultimately, choosing between a cube and a sphere comes down to your personal style and the glassware you use most often. Many home bartenders keep both on hand to match the ice to the drink and the mood.
To help you decide, here’s a quick comparison of the most common mold types available for your home bar.
Comparison of Giant Ice Cube Molds
| Mold Type | Material | Best For | Pros | Cons |
|---|---|---|---|---|
| Individual Cube Molds | Silicone | Classic cocktails like an Old Fashioned or whiskey on the rocks. | Easy to use and release; stacks well in the freezer. | Can be tricky to fill without spilling. |
| Sphere Molds | Silicone & Plastic | Elegant presentation for spirits and creative cocktails. | Creates a slow-melting, visually striking sphere. | Can be hard to seal perfectly, sometimes leaving a seam. |
| Multi-Cube Trays | Silicone | Making multiple cubes at once for a party or stocking up. | Efficient; often comes with a lid to prevent spills. | Can be bulky and take up more freezer space. |
| Insulated Systems | Silicone & Foam | Achieving perfectly clear, professional-grade ice at home. | Produces flawless, transparent ice via directional freezing. | Larger, more expensive, and a slower freezing process. |
Each mold type has its place, but starting with a simple silicone cube or sphere mold is a great entry point into the world of giant ice.
Leveling Up Your Ice-Making Toolkit
For those ready to move beyond basic molds and truly perfect their craft, a few dedicated tools can make all the difference. These items are for the enthusiast looking to achieve professional-level results right at home.
Investing in the right tools transforms ice-making from a simple chore into a rewarding craft. From basic silicone molds to specialized cutting equipment, each tool helps you control the final outcome for a perfect serve every time.
If you'd rather skip the process and get flawless results delivered, you can always explore options like professionally made premium clear cocktail ice blocks that are ready to use. For the DIY-er, however, these are the tools that will really elevate your game:
- Insulated Freezing System: Think of this as a purpose-built version of the cooler method. These systems use a silicone mold that sits inside an insulated box, forcing the water to freeze from top to bottom. This pushes all the air bubbles and impurities down and out, guaranteeing directional freezing for flawlessly clear results with minimal effort.
- Serrated Knife: A long, sturdy bread knife is your best friend for cutting down a large, clear block of ice. The serrated edge gives you a good grip, allowing you to score a straight line before splitting the block cleanly.
- Japanese Ice Pick: For detailed shaping and carving, nothing beats a quality ice pick. A Japanese-style pick gives you the precision to chip away imperfections, round off corners, or even carve a perfect sphere from a block of ice for that ultimate handcrafted touch.
With these tools, you gain complete control over the size, shape, and clarity of your giant ice cubes, turning a simple drink component into a true centerpiece.
Perfect Pairings for Your Giant Ice Cubes
You’ve mastered the art of making flawless ice, so now it’s time for the best part—putting it to work. A giant ice cube isn't just a functional ingredient; it's a co-star that makes the main attraction truly shine. Its real impact is most obvious when paired with drinks where protecting flavor integrity is everything.
The most classic use case is serving high-quality spirits "on the rocks." Think of a fine single malt Scotch, a complex aged rum, or a smooth añejo tequila. These aren't spirits you slam back. They’re meant to be sipped and savored as their intricate flavors and aromas slowly reveal themselves.
A giant ice cube is the ideal companion here. Its slow, gentle chill cools the spirit to the perfect sipping temperature, while minimal dilution gradually coaxes out hidden notes of oak, caramel, or spice without ever drowning them. It's a delicate dance, and large-format ice is the best partner you can find.
The Best Cocktails for Giant Ice
While perfect for straight spirits, giant ice cubes find their true calling in spirit-forward cocktails. These are the drinks built almost entirely from spirits, where the balance is delicate and over-dilution is the enemy. A large cube maintains that perfect harmony from the first sip to the last.
- The Old Fashioned: This is arguably the ultimate showcase for a giant cube. The drink is a simple, beautiful combination of whiskey, sugar, and bitters. A large cube keeps it perfectly cold and strong, ensuring the final sips are just as robust as the first.
- The Negroni: A perfectly balanced trio of gin, Campari, and sweet vermouth. The Negroni's bold, bittersweet profile is easily thrown off by too much water, but a giant cube or sphere preserves its signature punch while keeping it refreshingly chilled.
- The Sazerac (Served on the Rocks): Though traditionally served neat, many enjoy this classic rye and absinthe cocktail over a single large rock. The slow melt helps gently open up the spicy notes of the rye without compromising the drink's legendary character.
In every case, the giant ice cube acts as a silent guardian, protecting the cocktail’s structure and letting you enjoy it at a relaxed pace. It's a key reason why premium cocktail ice elevates your drinking experience, transforming a good cocktail into a truly great one.
This growing appreciation for quality ice is a major force in the beverage industry. The global cube ice market, valued at USD 2.59 billion in 2024, is projected to hit USD 4.19 billion by 2033. This surge is largely thanks to the food service and hospitality sectors' focus on premium drink presentation. You can explore the complete market analysis in this in-depth industry report.
A giant ice cube in a spirit-forward cocktail isn't just for chilling. It's an essential component for maintaining the drink's intended character, balance, and strength over time.
Beyond the Bar Cart
The benefits of slow-melting ice aren't just for alcoholic beverages. Any drink you want to keep cold without diluting can be improved with a giant cube. The same principles of minimal dilution and sustained chill apply, making them surprisingly versatile.
Think about a high-quality cold brew coffee. You want it icy cold, but you don't want the rich, chocolatey notes to become thin and watery after five minutes. A single large cube is the perfect solution, keeping it crisp and flavorful for as long as it takes you to enjoy it.
The same goes for other premium non-alcoholic drinks:
- Artisanal Iced Tea: Preserve the delicate notes of a fine black or green tea.
- Freshly Squeezed Juice: Keep orange or grapefruit juice vibrant and cold without becoming watery.
- Sparkling Sodas: Maintain both the chill and the fizz for a more refreshing experience.
By using giant ice cubes in these everyday drinks, you bring a touch of luxury and thoughtfulness to even the simplest moments. It’s a small change that makes a noticeable difference.
Creative Infusions and Custom Ice
Once you’ve nailed the art of making perfectly clear ice, you’re ready to unlock a whole new level of cocktail creativity. This is where you stop thinking of ice as just a way to chill a drink and start seeing it as a key ingredient—one that adds flavor, aroma, and a bit of theatre.
The idea is simple but brilliant: infuse your ice with botanicals, fruits, or even edible flowers. As that big, beautiful cube slowly melts, it’s not just diluting your cocktail; it’s releasing new layers of taste and scent. You’re essentially creating a drink that evolves with every sip, taking you on a journey from start to finish. This is how a great cocktail becomes truly unforgettable.
Techniques for Visual and Flavor Infusions
So, how do you get that perfect sprig of rosemary or elegant lemon twist to float gracefully in the middle of your ice cube? If you just toss everything in at once, it will all float to the top. The secret is to work in layers.
Start by filling your mold about one-third of the way with water. Add your ingredients, then pop it in the freezer. Once that layer is solid, add another layer of water and more ingredients, and freeze it again. Repeat this process until the mold is full.
This layering method is your ticket to suspending ingredients perfectly. Some popular choices that always impress are:
- Fresh Herbs: A single, large rosemary sprig or a few vibrant mint leaves.
- Citrus Elements: A long, beautiful twist of lemon or orange peel.
- Edible Flowers: Colorful pansies or violas for a stunning pop of color.
By infusing your ice, you’re not just making a drink; you’re telling a story. Each sip reveals a new chapter as the ice releases its hidden flavors, making the whole experience interactive and memorable.
Starter Recipes for Infused Giant Ice Cubes
Getting started with infused ice is easier than it sounds. The key is to match the infusion to the cocktail. Think about flavors that will complement the drink, not fight with it. For example, a rosemary spear frozen into a large cube is the perfect partner for a classic Gin and Tonic, slowly releasing its piney, herbaceous aroma as it melts.
Another fantastic option is a floral cube for a light, summery spritz. The delicate notes from an edible flower will add a subtle, fragrant touch that elevates the entire drink.
Frequently Asked Questions About Giant Ice
Even after you think you've got the hang of it, a few practical questions always seem to pop up on the journey to perfect ice. Think of this as your troubleshooting guide—quick, clear answers to the most common snags so you can consistently create and use truly exceptional giant ice cubes.
Why Is My Ice Still Cloudy?
So you’ve tried directional freezing, but your ice still has that cloudy bottom. The issue is almost always a simple matter of timing. You’re probably letting it freeze for too long.
Remember, the whole point of directional freezing is to push the air and impurities down into the water at the very bottom. If you let that entire block freeze solid, all those trapped impurities have nowhere left to go. They get locked into the base of your ice, creating that cloudy layer you’re trying to avoid.
The secret is to pull your ice out of the freezer while about 25% of the water is still liquid. This simple trick ensures all the cloudy bits are still in the water you pour off, leaving you with a perfectly clear block to work with.
Can I Just Use Tap Water?
Yes, absolutely! While you’ll see plenty of guides out there recommending boiled or distilled water, the directional freezing process itself does the heavy lifting. This method is specifically designed to separate and push out the dissolved minerals and trapped air bubbles that are common in regular tap water.
Using fancy filtered water might give you a tiny, marginal improvement, but for most of us making drinks at home, clean tap water combined with a good directional freezing technique will produce stunningly clear results. Don't overthink the water; focus on perfecting the freeze.
How Should I Store My Giant Ice Cubes?
Proper storage is critical. There's nothing worse than going to all that trouble to make beautiful ice, only to have it taste like last night's fish curry. Once you’ve cut your clear block into individual cubes or spheres, you need to protect them from the air in your freezer.
Here’s how to do it right:
- Use an Airtight Container: A resealable silicone bag or a lidded plastic container is your best friend. This creates a barrier that stops the ice from absorbing funky smells from other foods.
- Keep Them Separate: Don't just toss your premium ice into an open ice bin. Give it a dedicated, sealed home.
- Use Them Promptly: For the absolute best quality, try to use your giant ice cubes within a week or two. While they won't technically "go bad," they can start to lose that pristine, fresh quality over time.
Following these simple steps will help you troubleshoot common issues and guarantee that every drink you make gets the perfect, crystal-clear ice it deserves.
Ready to skip the DIY and experience flawless ice with zero effort? Wolfe and Kensington delivers handcrafted, crystal-clear cocktail ice directly to your door. Elevate your drinks today.